Extended Cab Platform
For the 20 years I owned my Ford Explorer I seldom had passengers in the back seat. So, when I purchased my extended cab Silverado, I did so having a plan to remove the rear seat and better utilize that space by building a platform in its place.
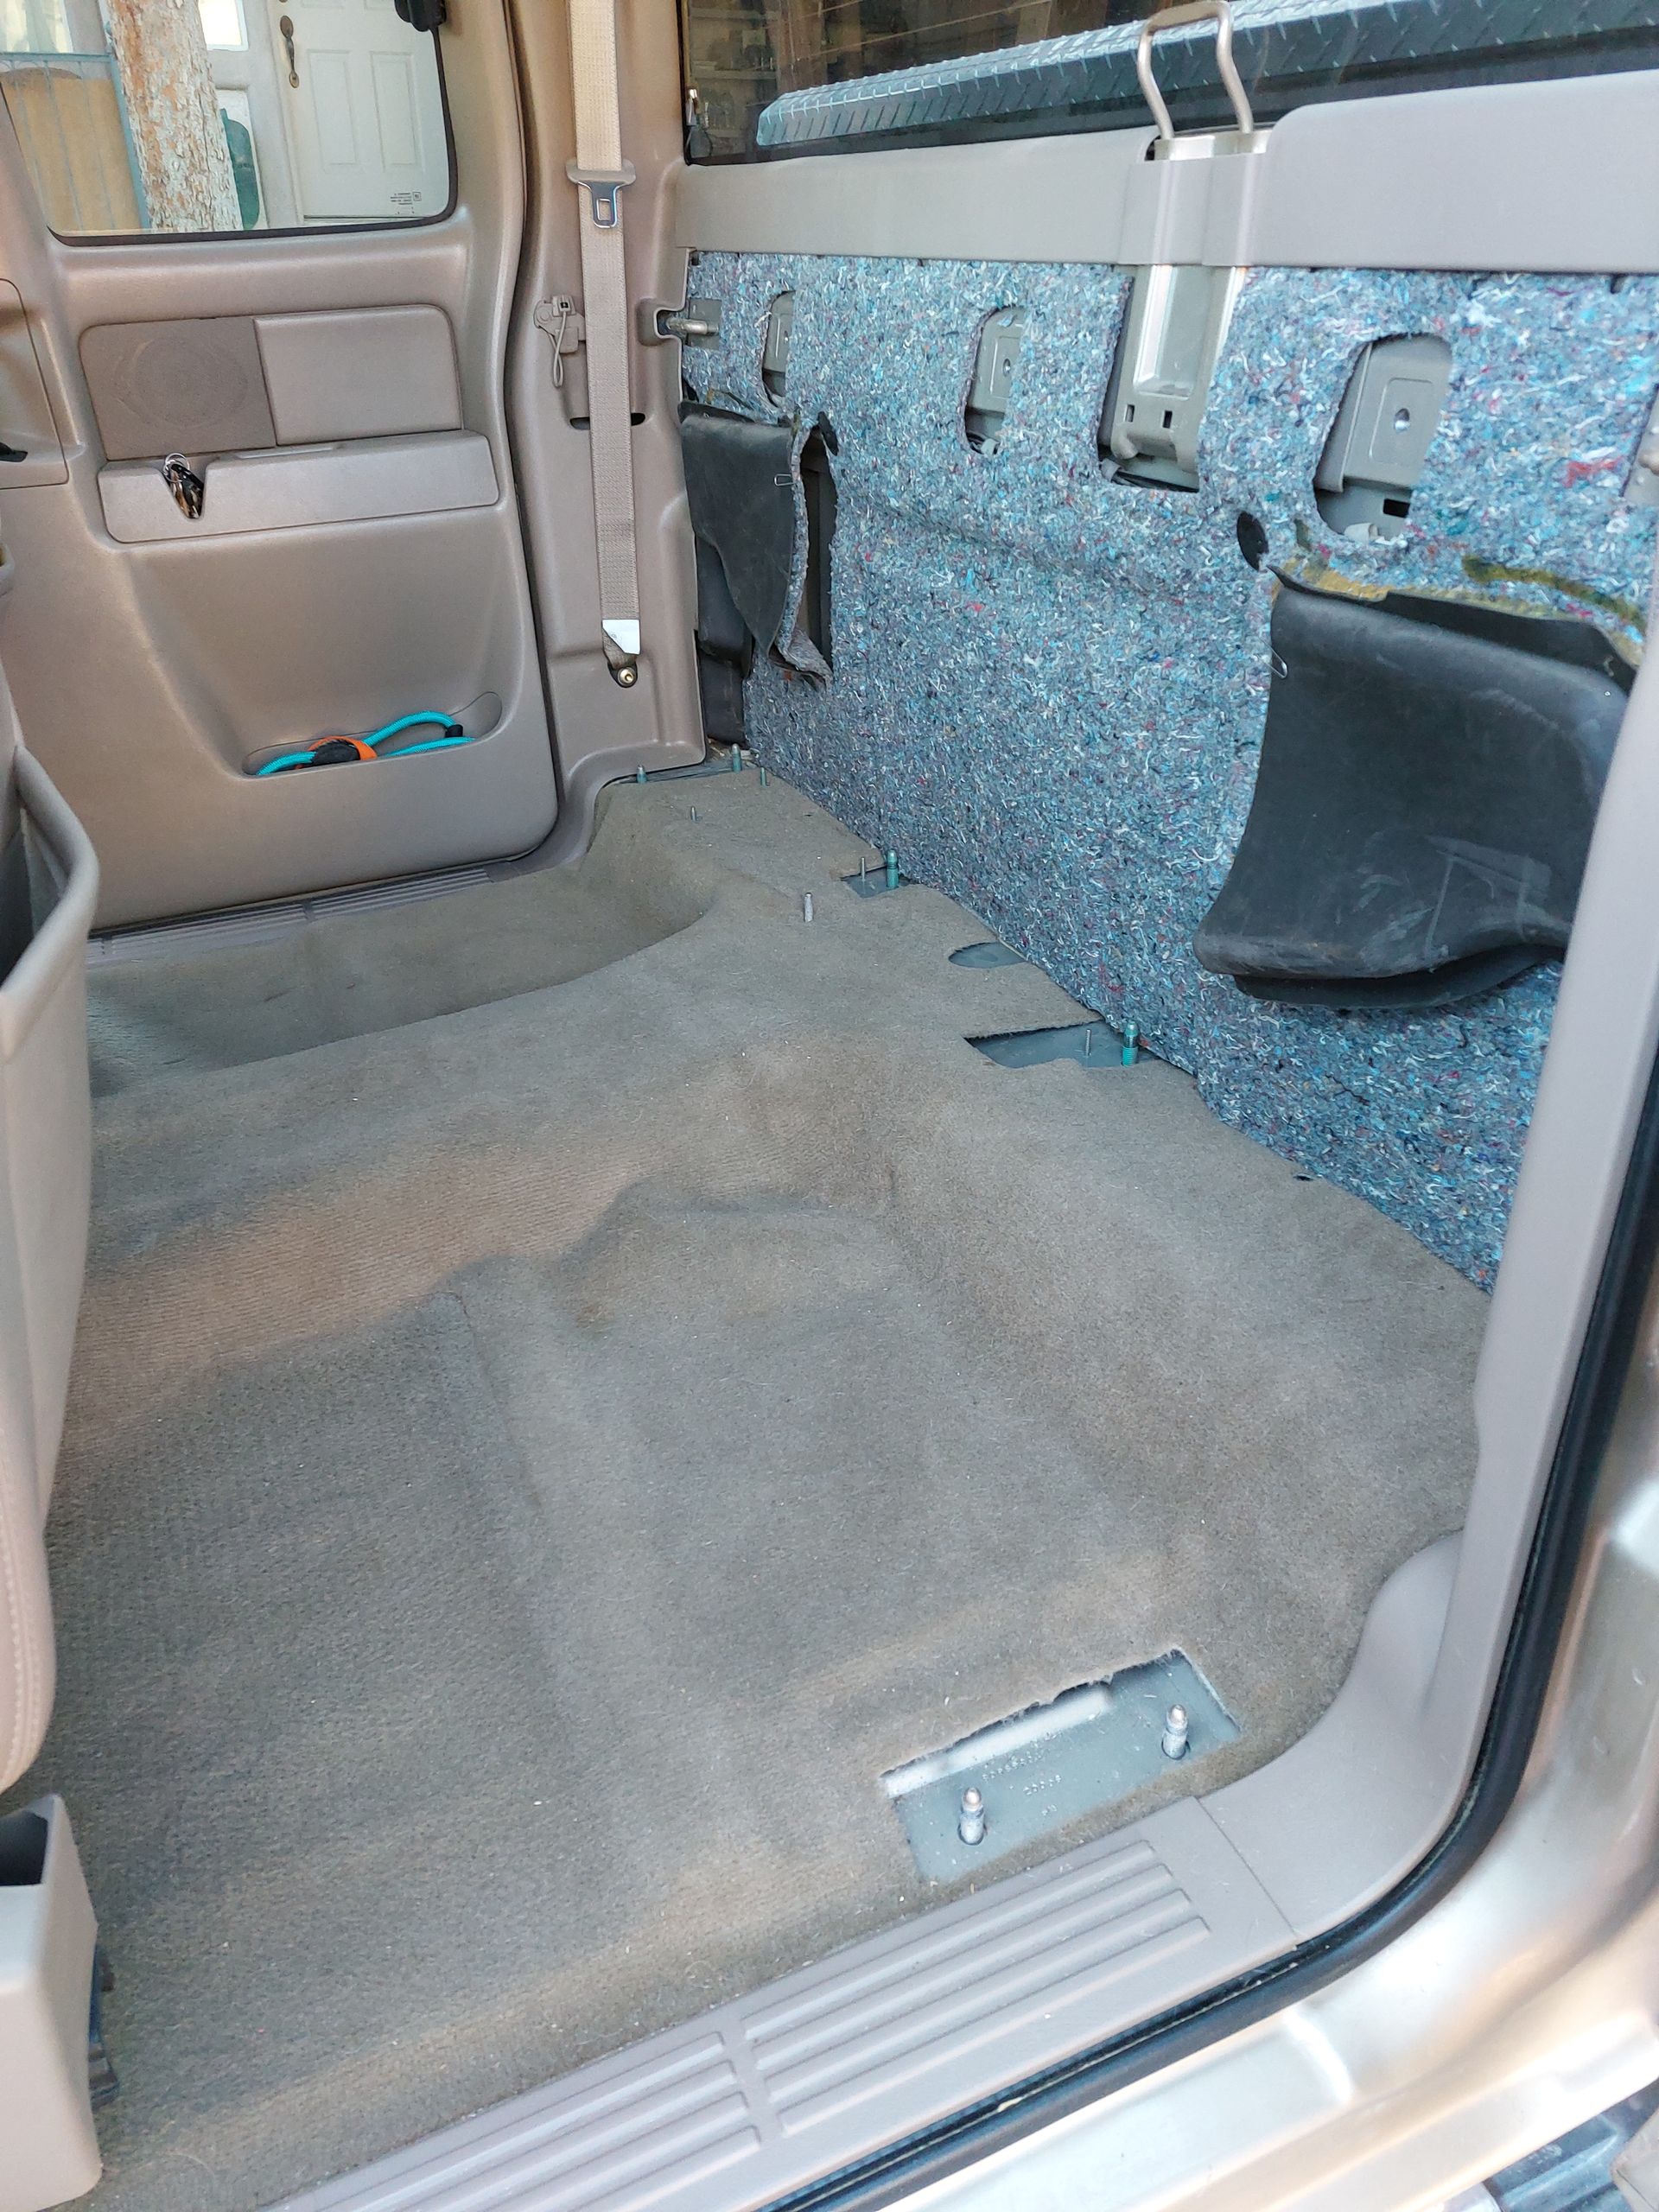
I removed the rear seat by taking off. All the nuts that were holding it down. there were quite a few. The seat back folded forward making it a large one-piece unit. Removing it from the truck by myself was a bit of a challenge but I managed to get it out. After that I removed all of the seatbelt hardware. With a large cleared out area it was now time to build the platform.
Continue Reading.
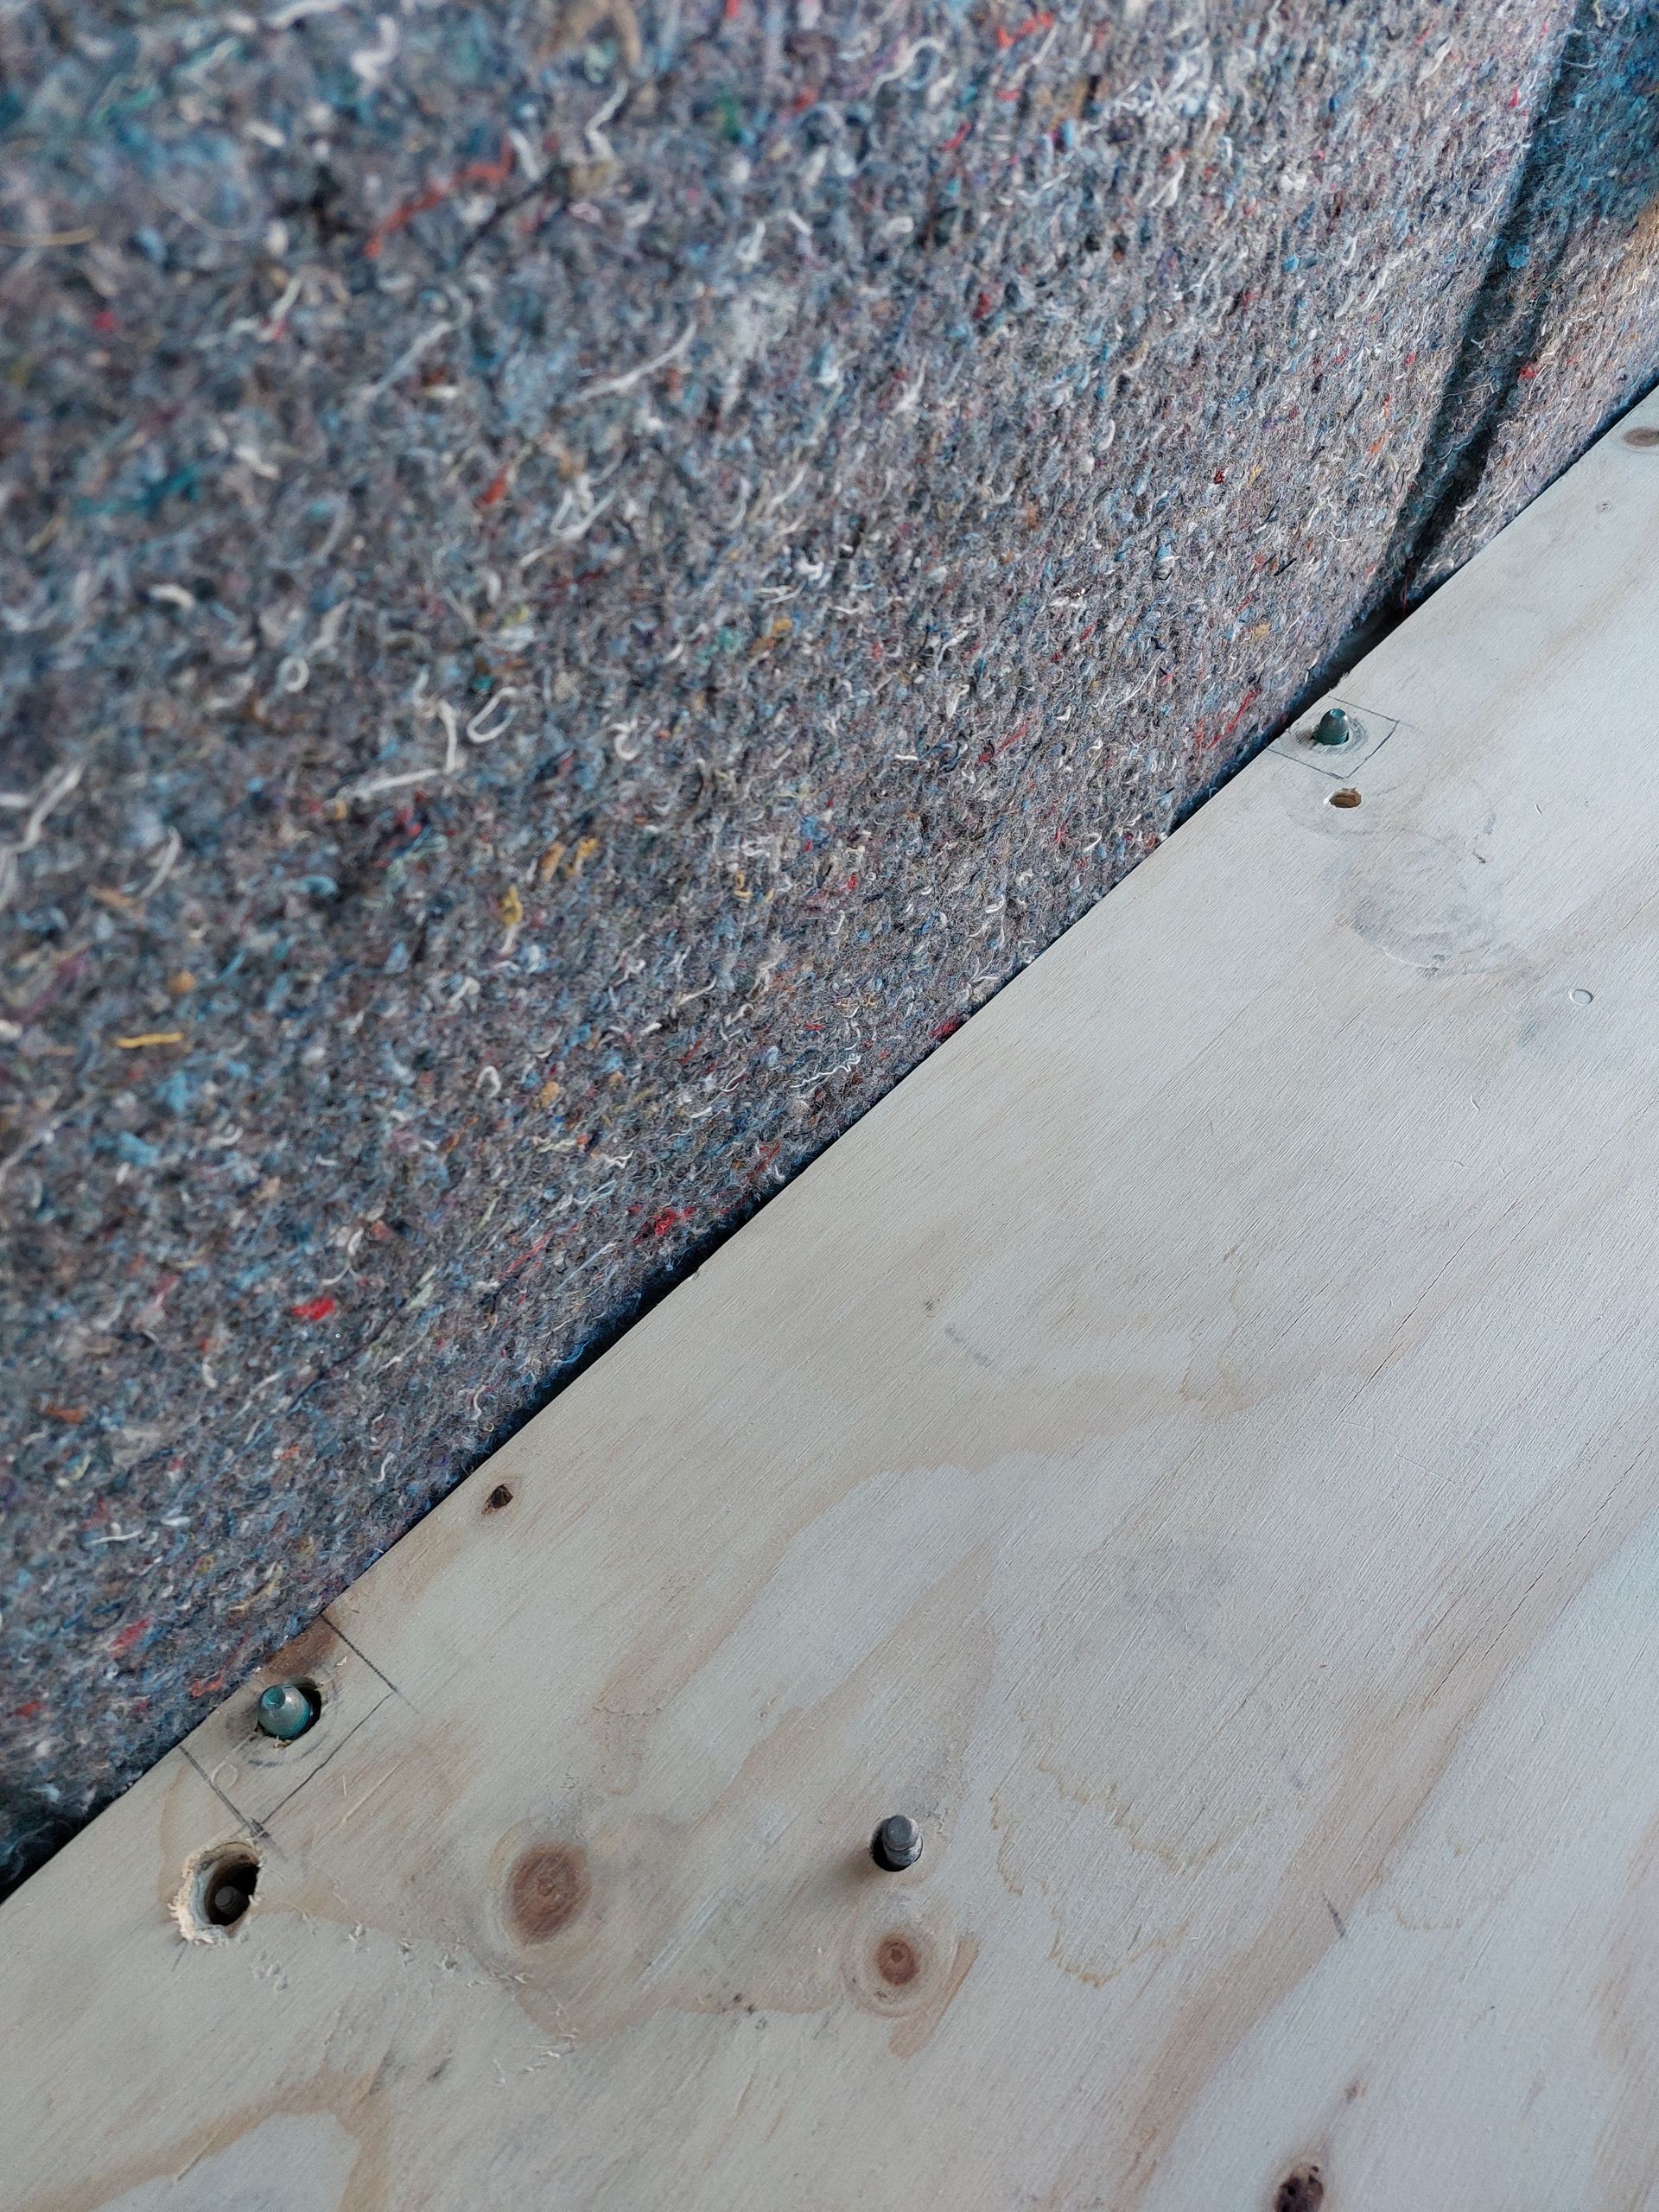
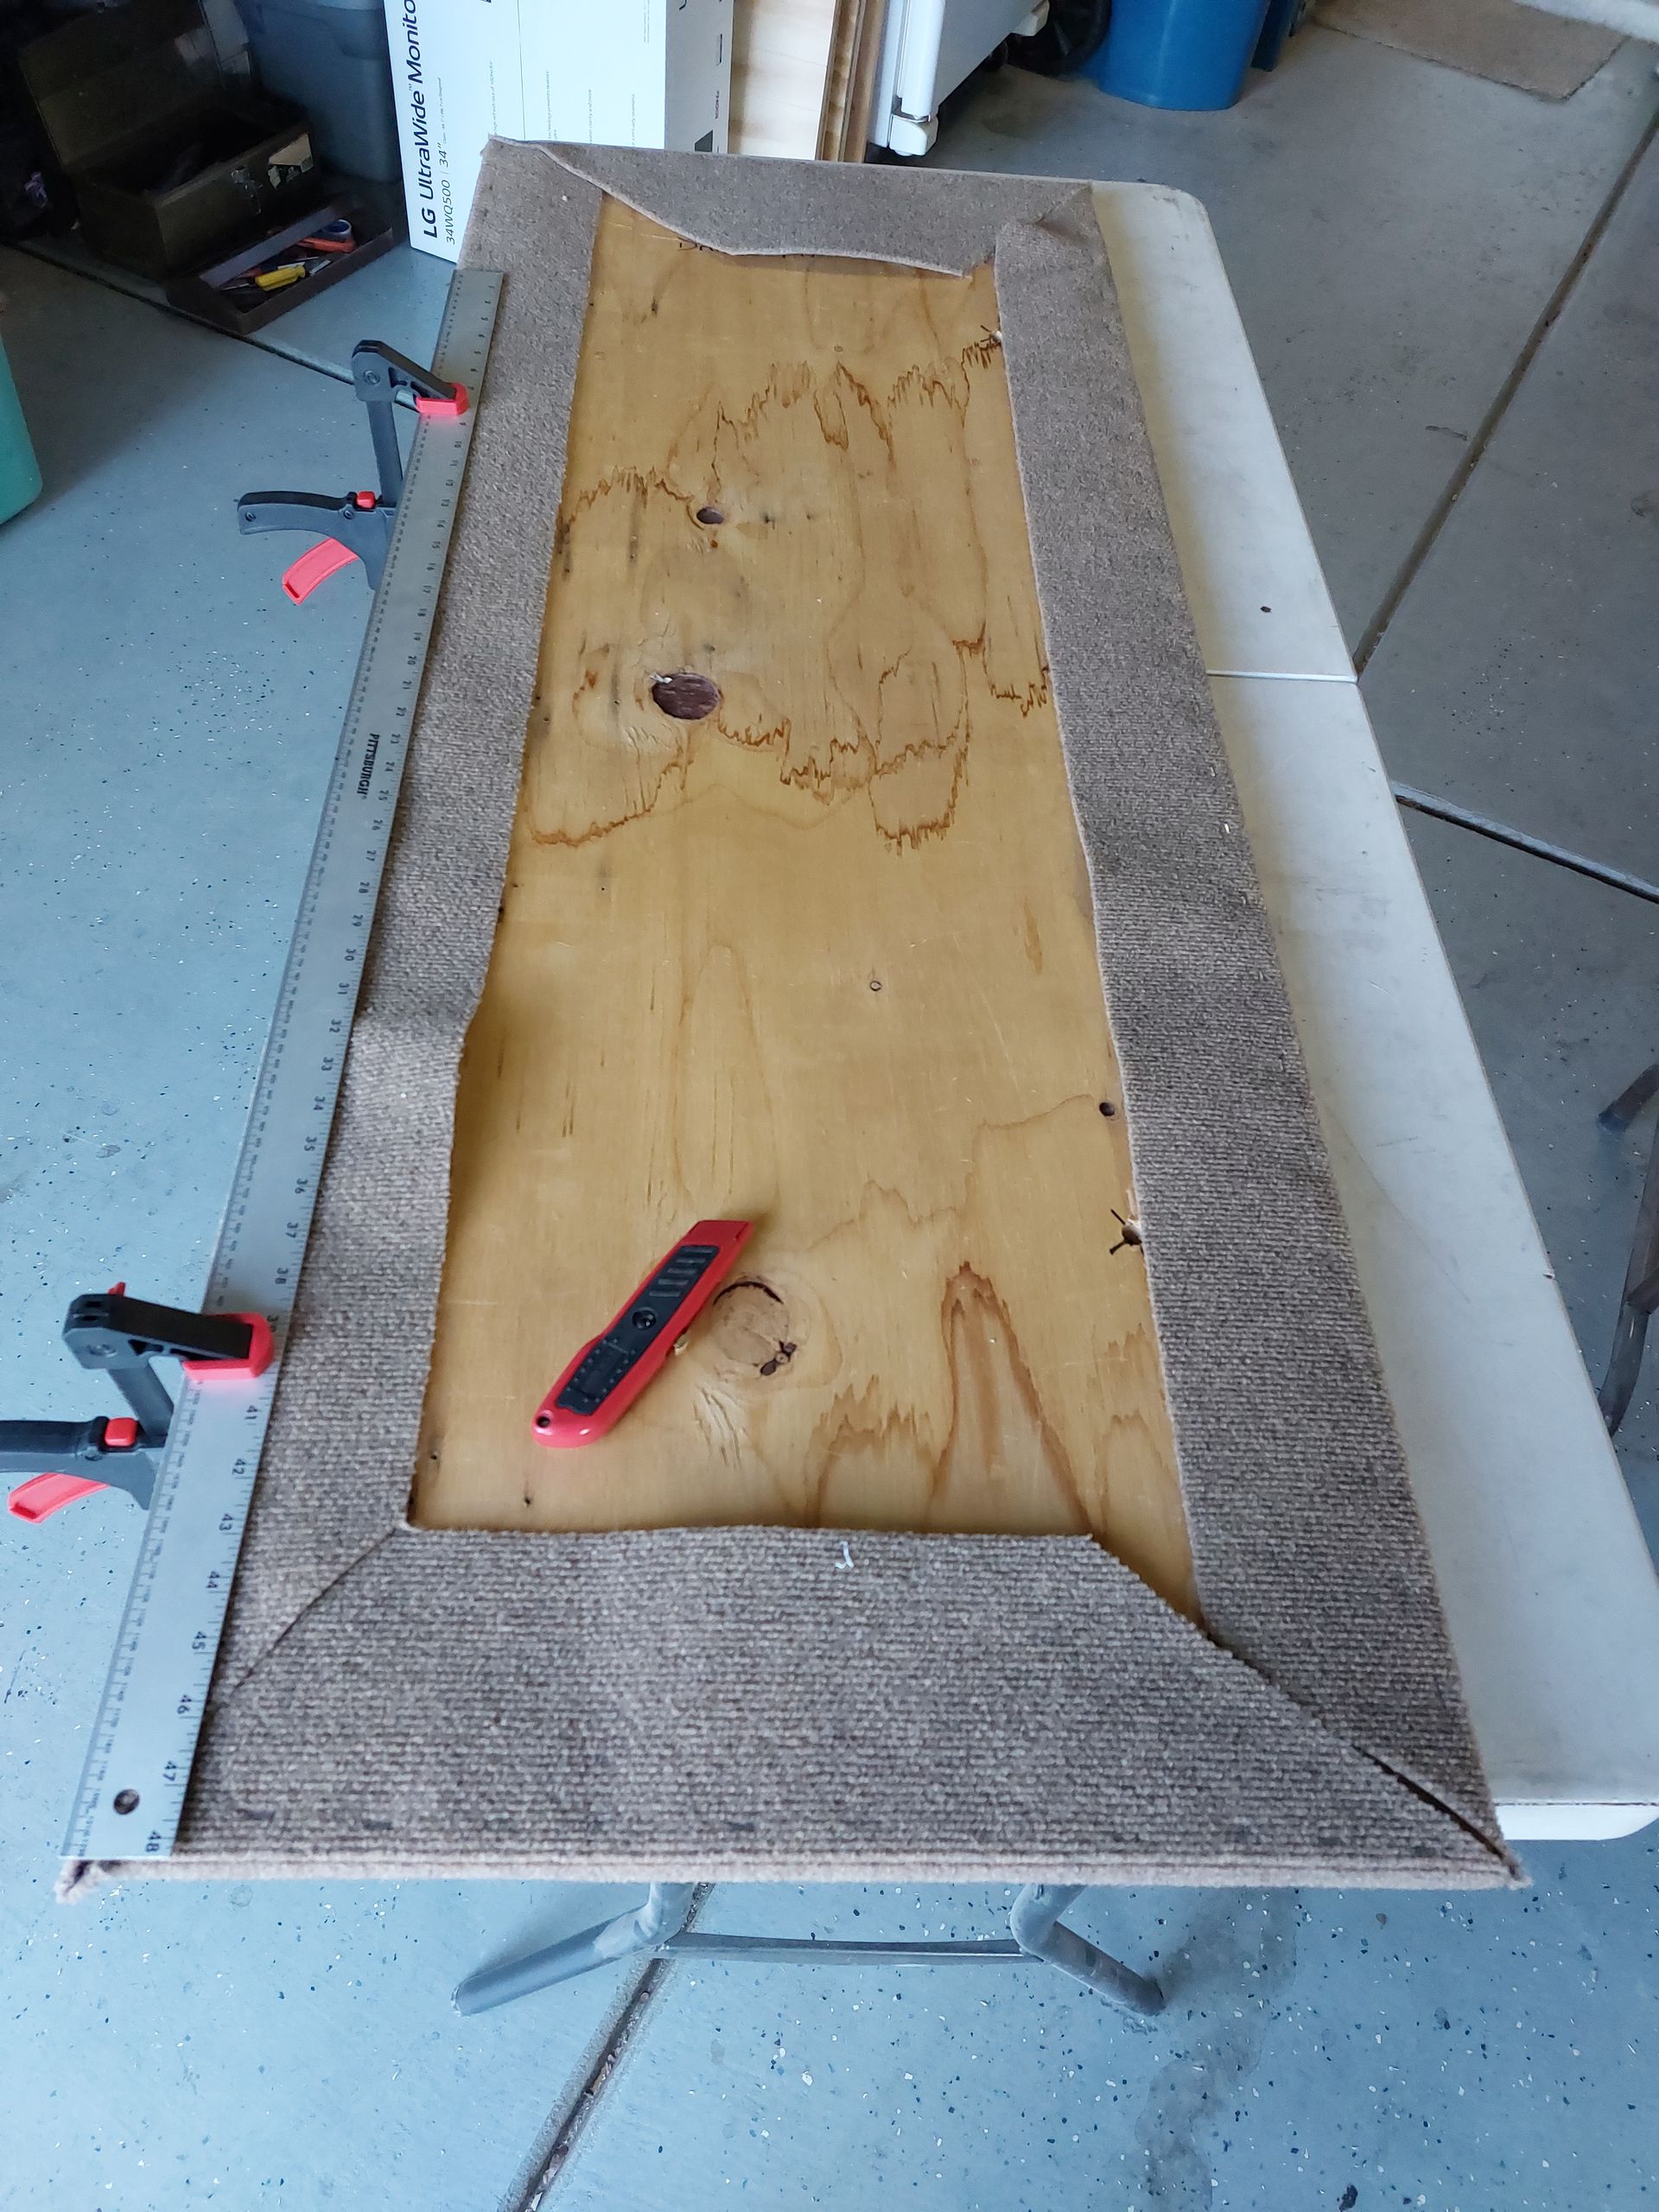
I measured the space for the bottom board first, allowing room for the seats to move back all the way. After cutting the board, I laid it in place and marked where the bolts remained from the seat bracket stuck up. I then cut holes in the board so that it could lay down flat around these bolts. Next, I measured the space for the backboard and cut it to fit. I then located where holes needed to be drilled so that it could be bolted to the rear of the cab where seatbelt brackets once were.
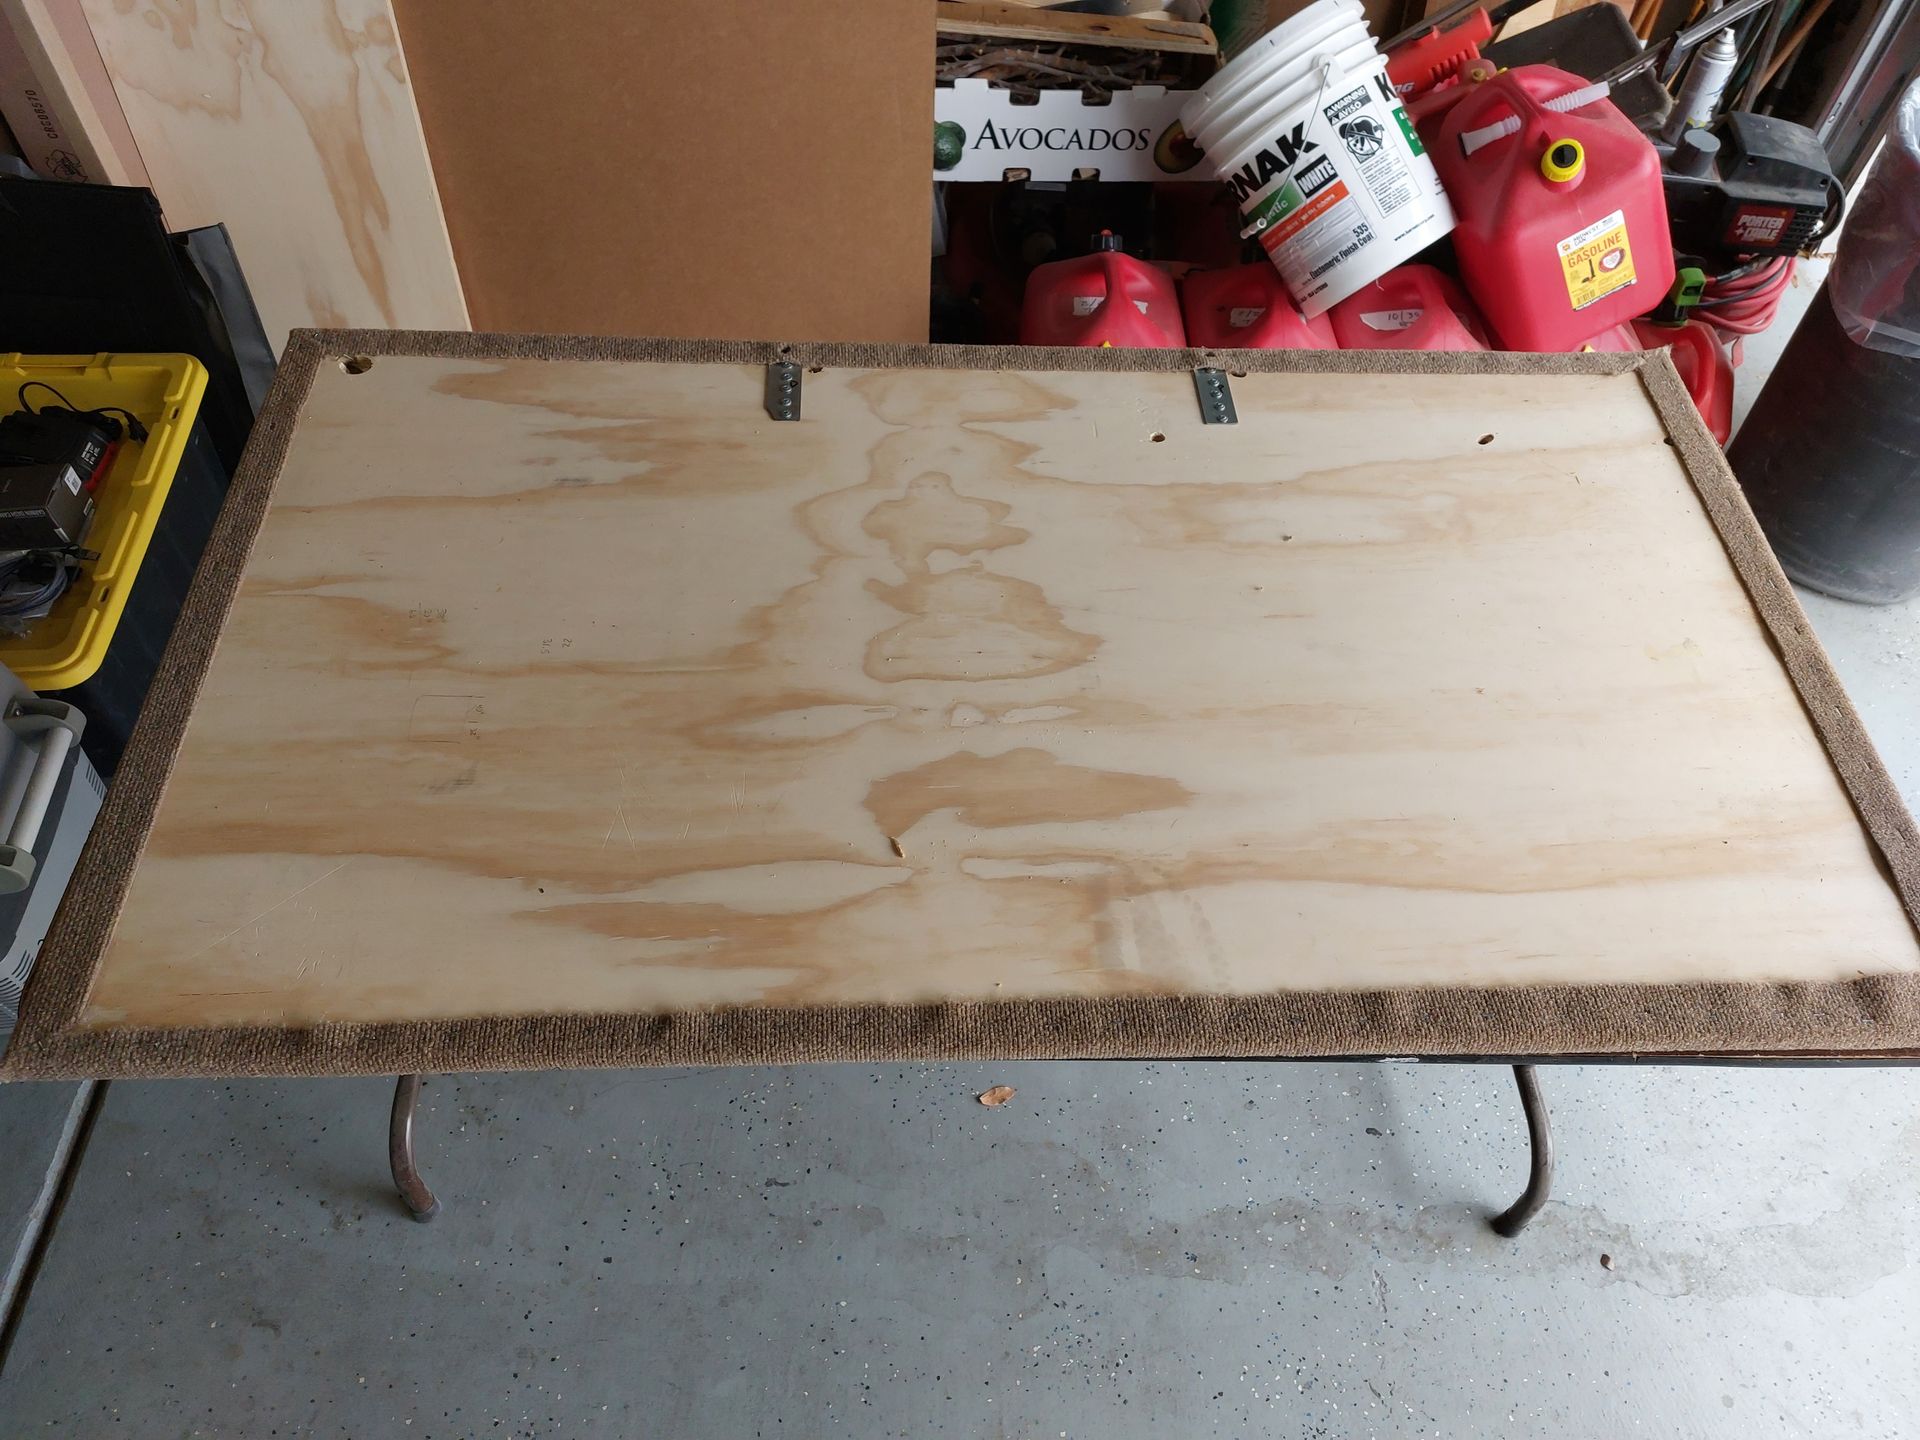
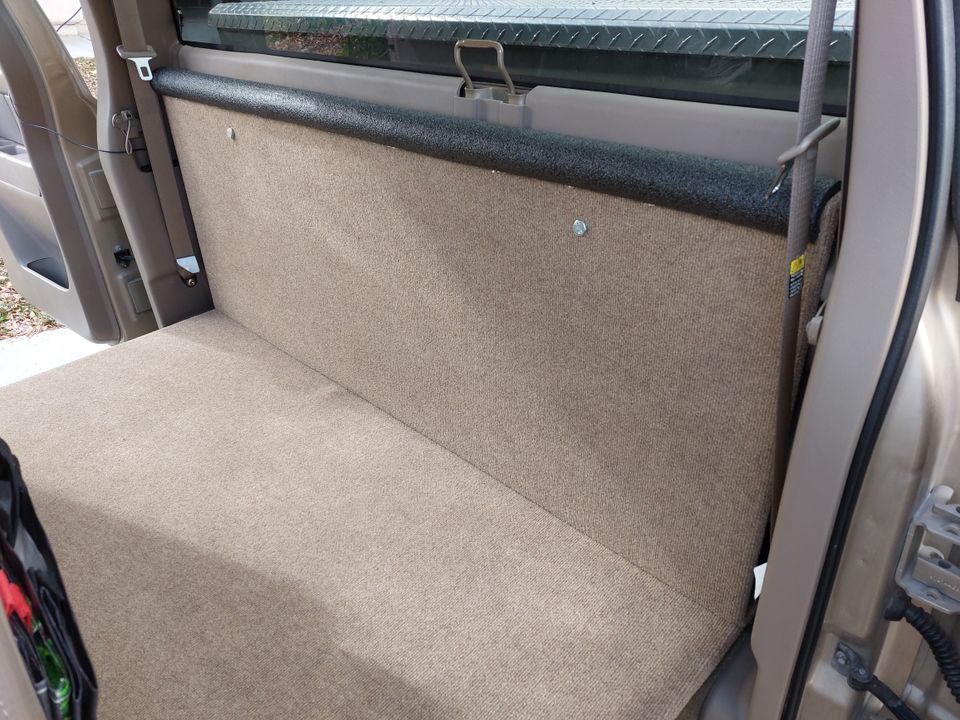
Once the boards were properly fitted in place, I removed them and one at a time cut a piece of indoor-outdoor carpet large enough to wrap around the edges to the back. Using carpet cement, I attached the carpet to each of the boards. The carpet cement was a little hard to work with. I think if I did it again, I would try and use spray adhesive. But I think it turned out pretty good.
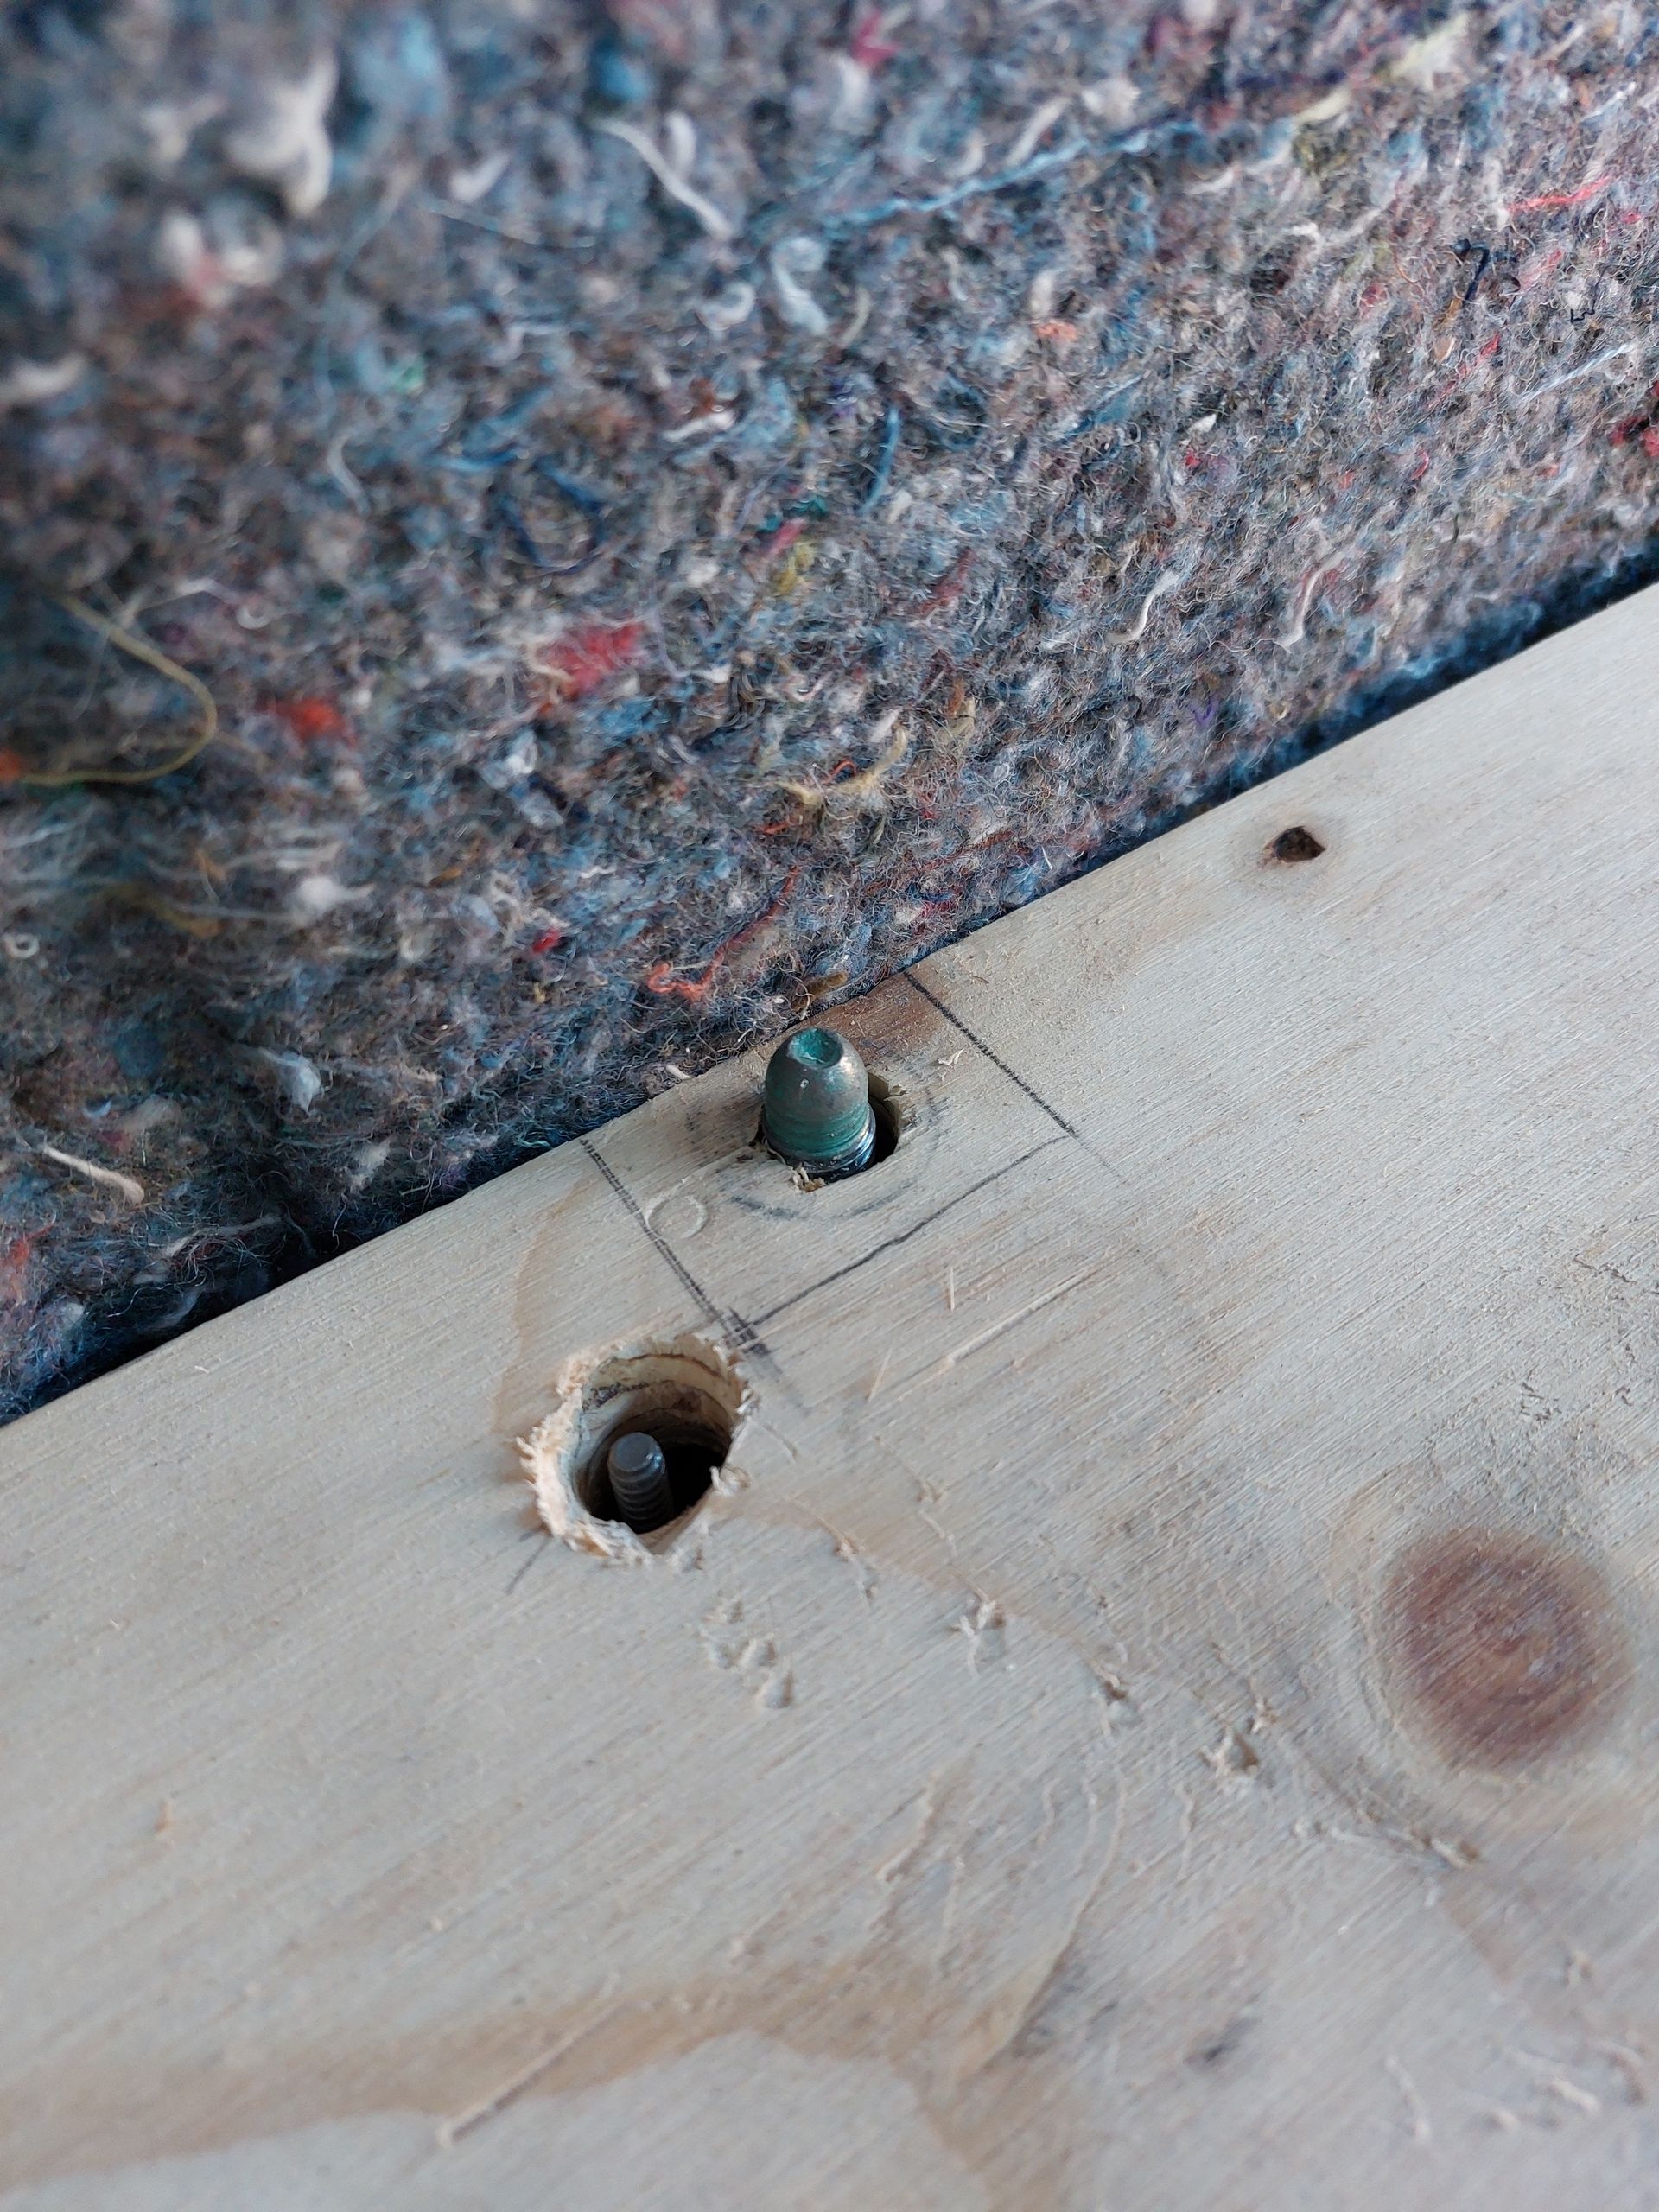
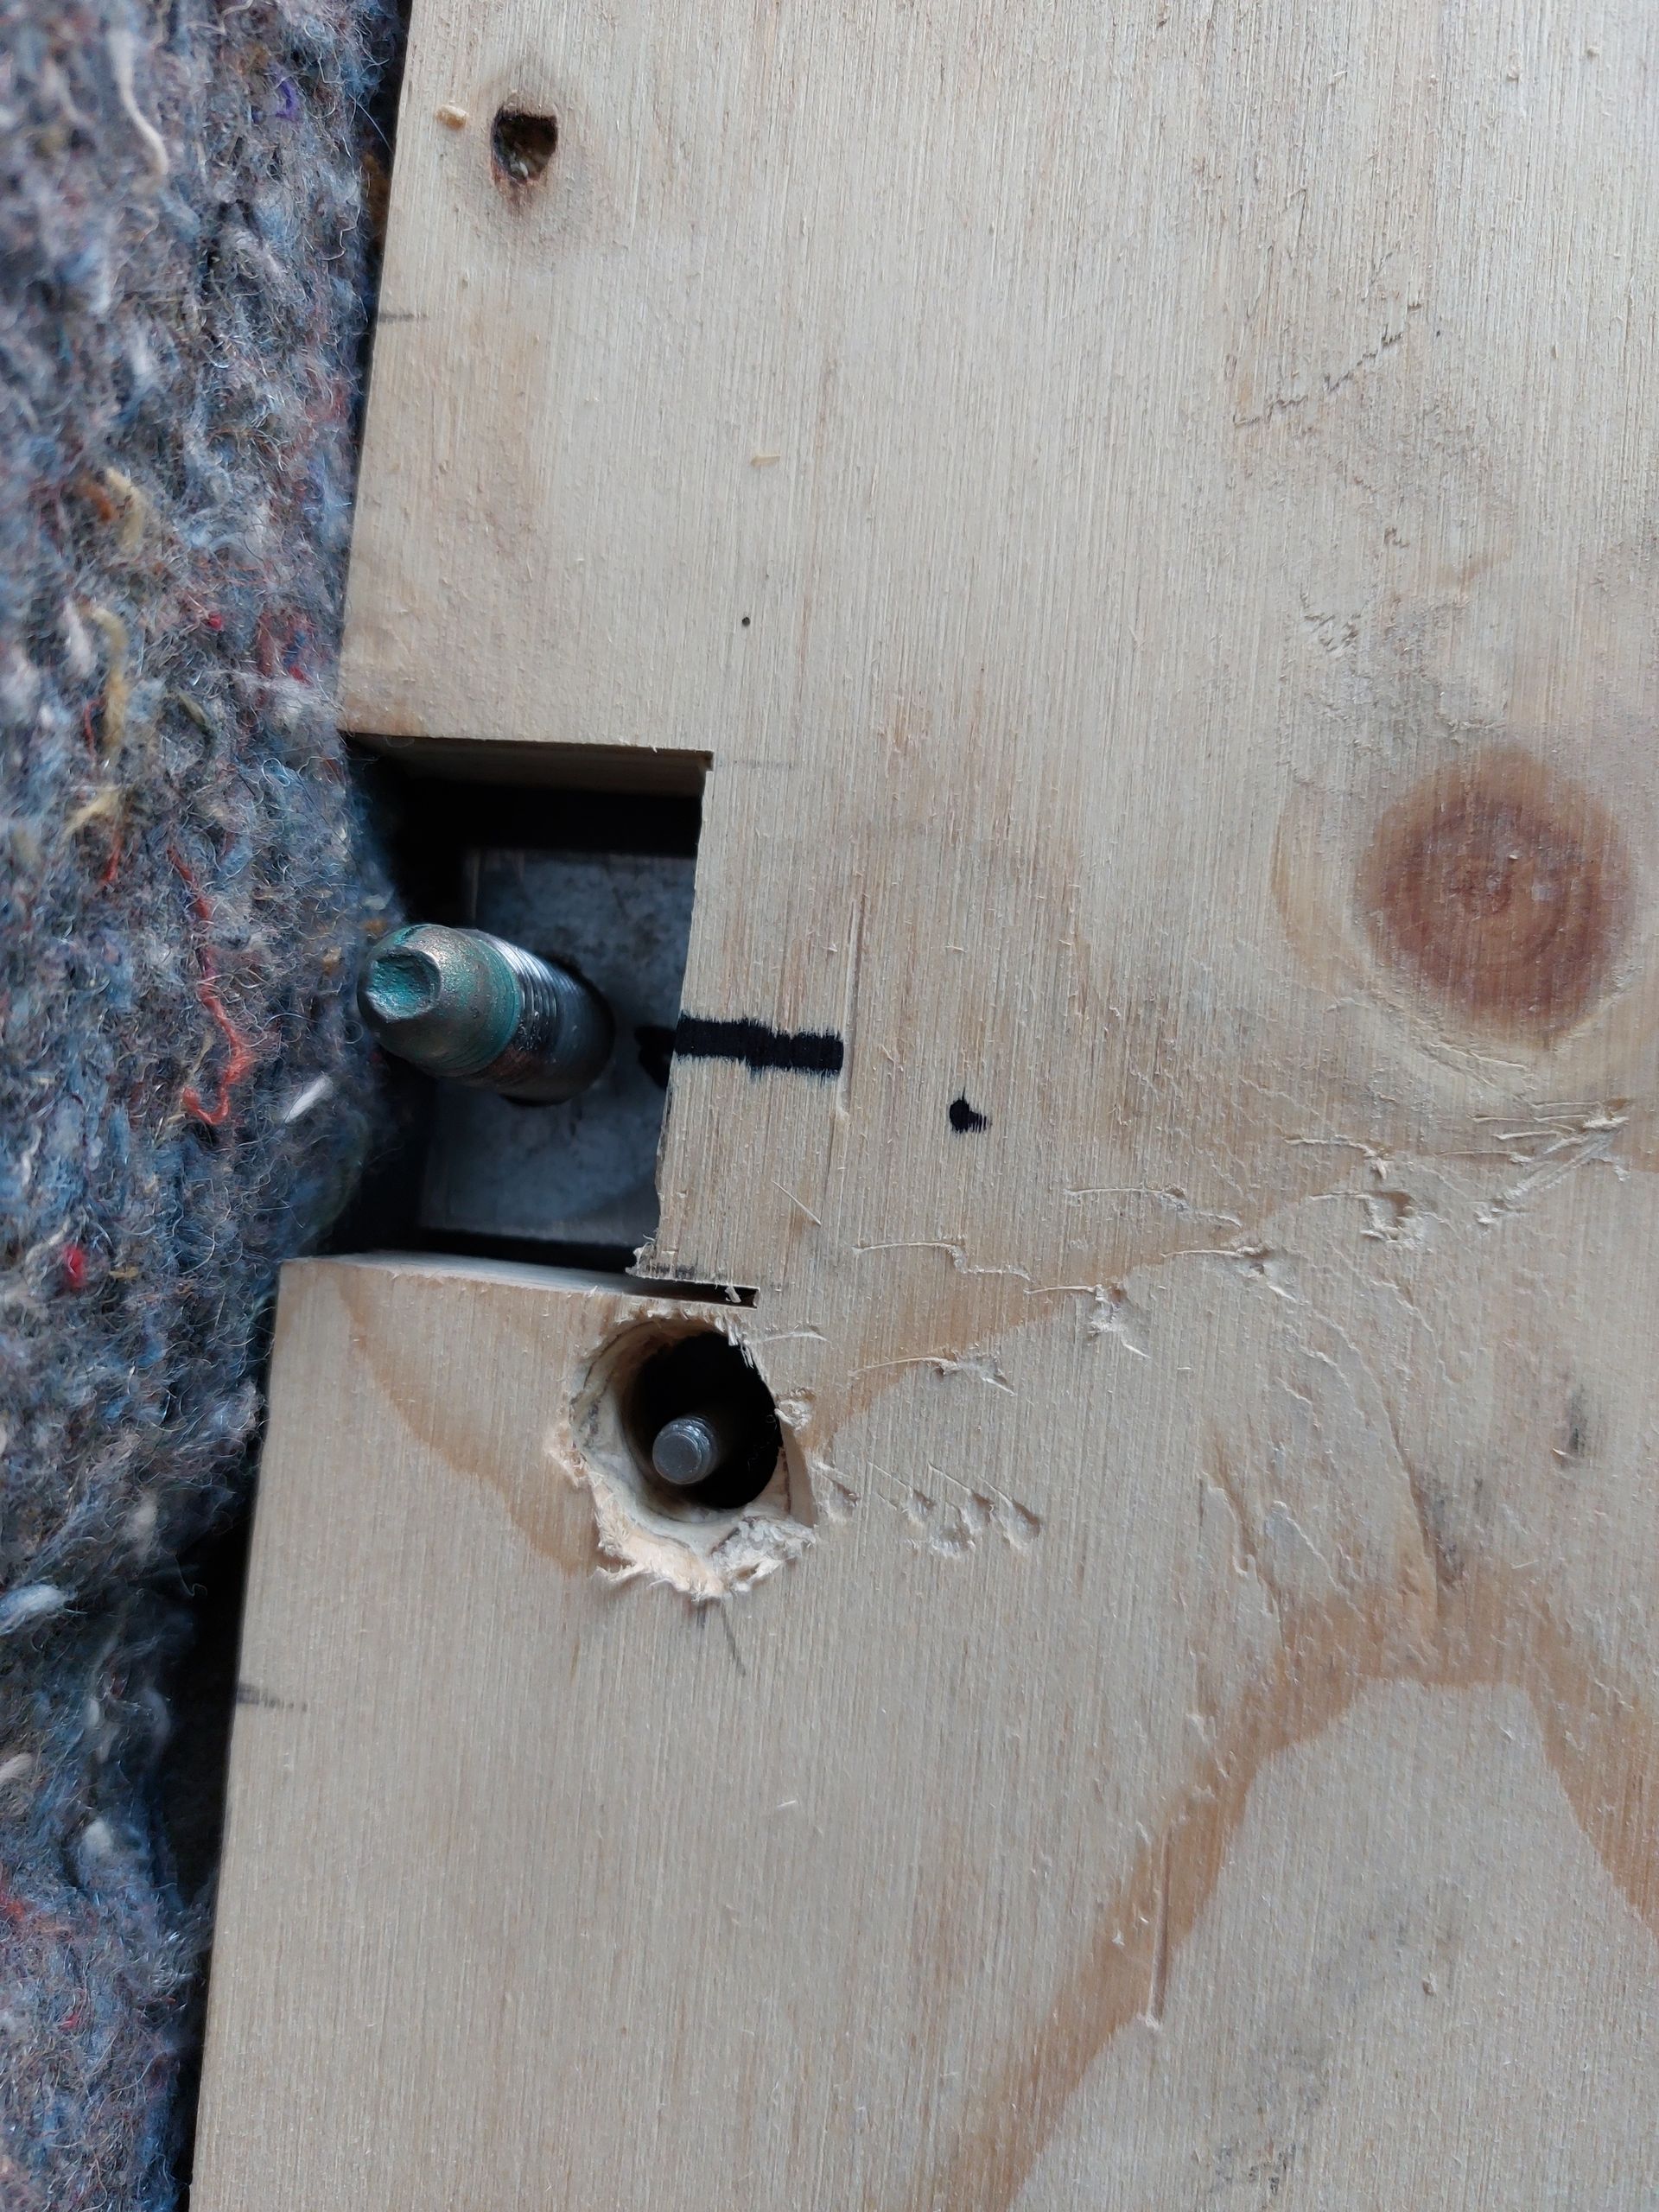
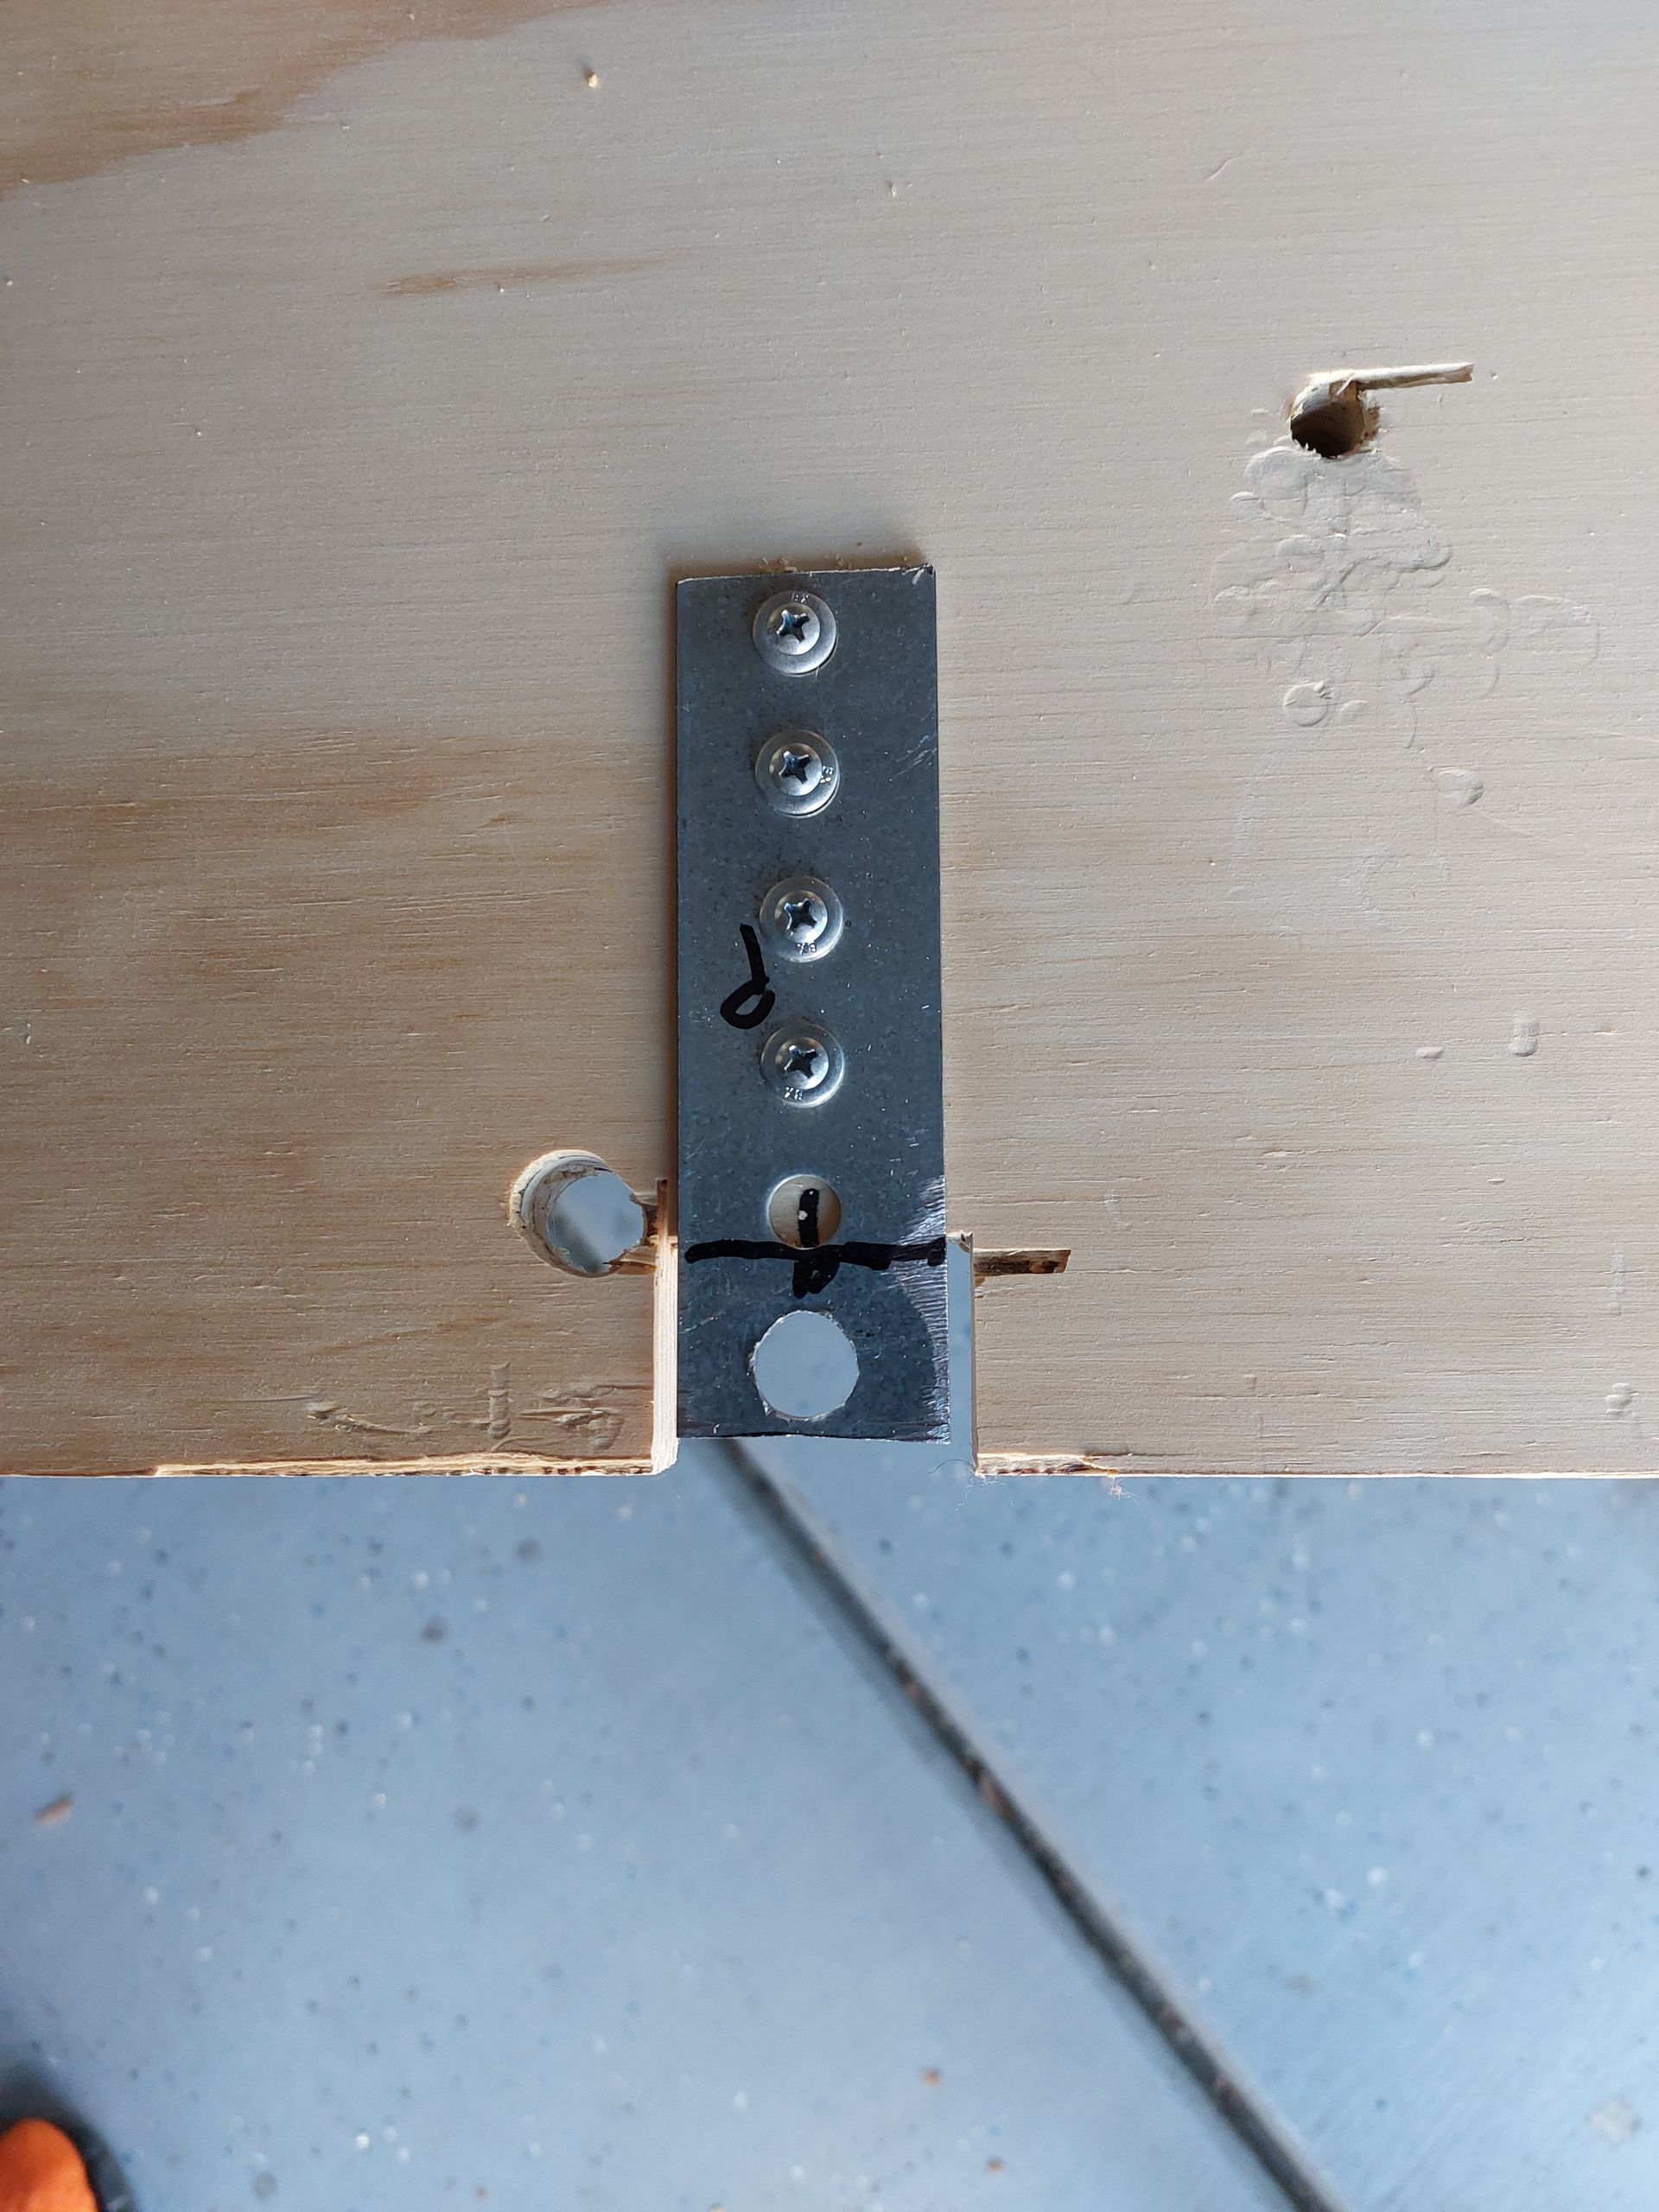
After letting the adhesive dry, I placed the bottom board into the truck and bolted it down. The bolts poking through the bottom board did not allow enough threads for the nut to grab, so I cut out a notch and screwed a bracket to the bottom of the board that would fit over the bolt (see photos).
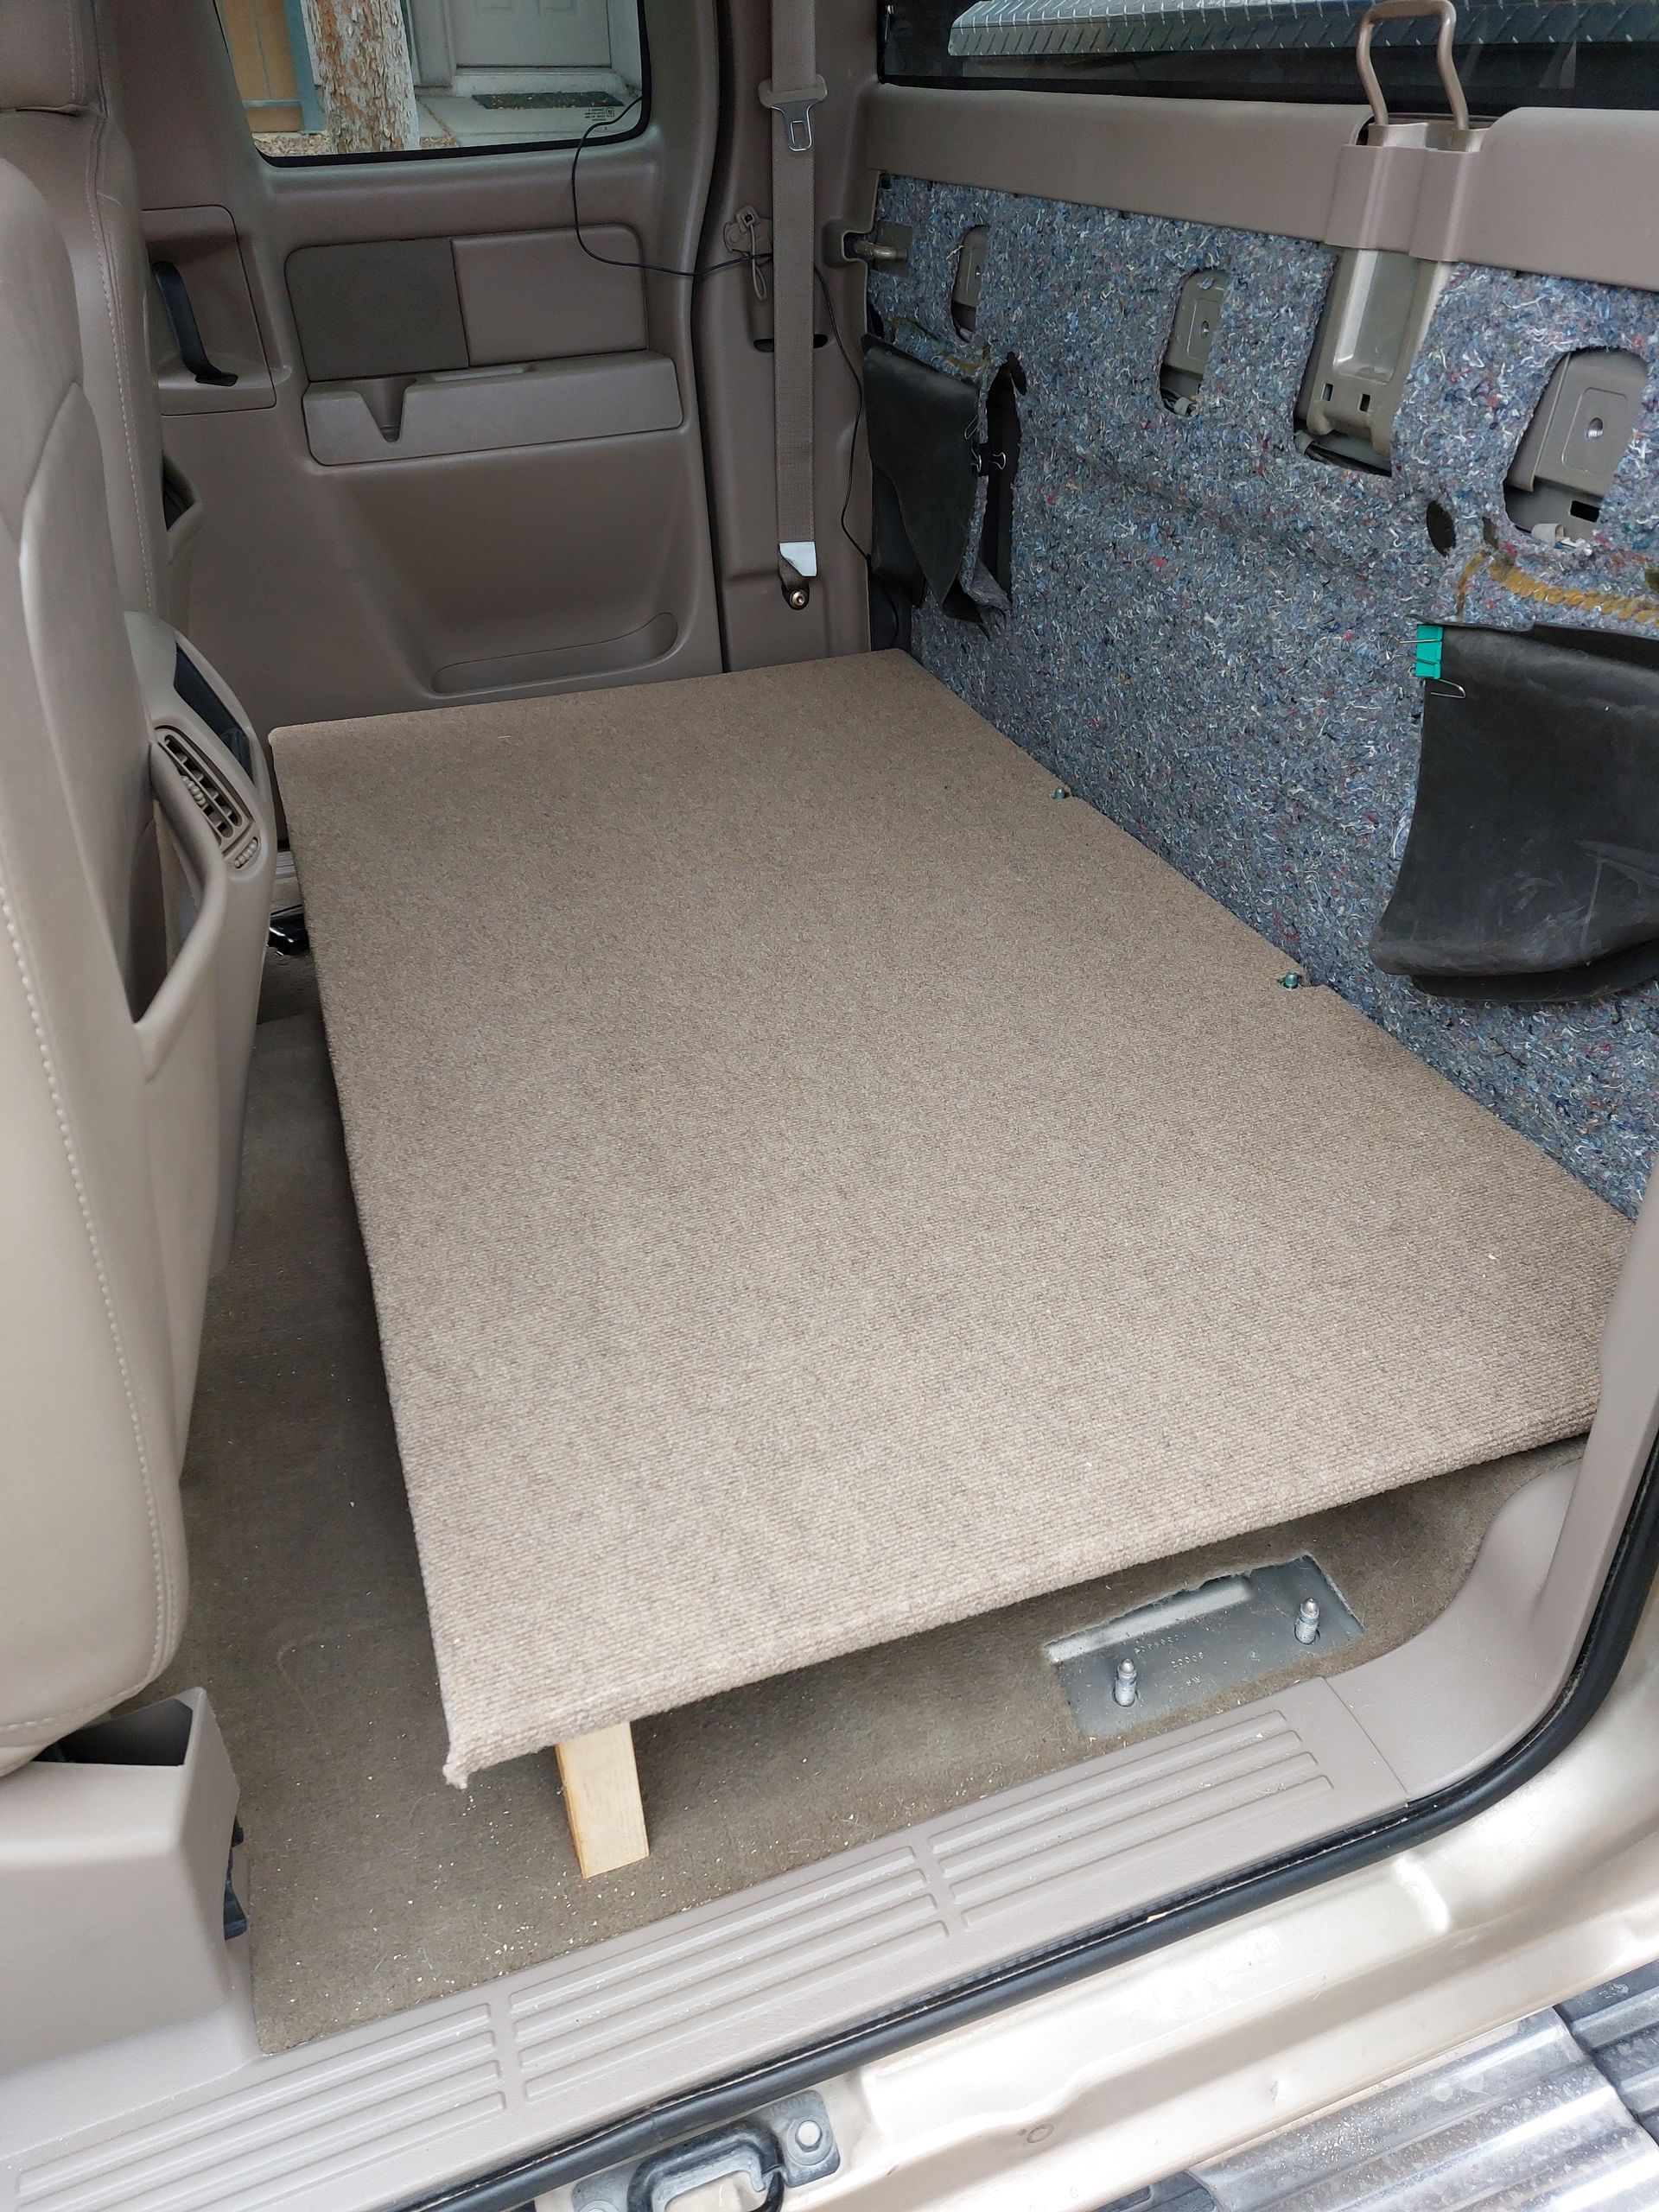
The front center part of the board rested on the center hump, while the corners were unsupported. So, I cut and placed a short 2 x 2-inch board on each corner for added support. I then place the backboard in place. The backboard also helped to secure the bottom board in place.
What will I do with it now?
I think it turned out pretty nice. It provides me with a lot more manageable room for equipment and supplies. Next, I will build a storage box for a DC cooler on a slide- out tray.
I removed the rear seat by taking off. All the nuts that were holding it down. there were quite a few. The seat back folded forward making it a large one-piece unit. Removing it from the truck by myself was a bit of a challenge but I managed to get it out. After that I removed all of the seatbelt hardware. With a large cleared out area it was now time to build the platform.
Continue Reading.
I measured the space for the bottom board first, allowing room for the seats to move back all the way. After cutting the board, I laid it in place and marked where the bolts remained from the seat bracket stuck up. I then cut holes in the board so that it could lay down flat around these bolts. Next, I measured the space for the backboard and cut it to fit. I then located where holes needed to be drilled so that it could be bolted to the rear of the cab where seatbelt brackets once were.
Once the boards were properly fitted in place, I removed them and one at a time cut a piece of indoor-outdoor carpet large enough to wrap around the edges to the back. Using carpet cement, I attached the carpet to each of the boards. The carpet cement was a little hard to work with. I think if I did it again, I would try and use spray adhesive. But I think it turned out pretty good.
After letting the adhesive dry, I placed the bottom board into the truck and bolted it down. The bolts poking through the bottom board did not allow enough threads for the nut to grab, so I cut out a notch and screwed a bracket to the bottom of the board that would fit over the bolt (see photos).
The front center part of the board rested on the center hump, while the corners were unsupported. So, I cut and placed a short 2 x 2-inch board on each corner for added support. I then place the backboard in place. The backboard also helped to secure the bottom board in place.
What will I do with it now?
I think it turned out pretty nice. It provides me with a lot more manageable room for equipment and supplies. Next, I will build a storage box for a DC cooler on a slide- out tray.